
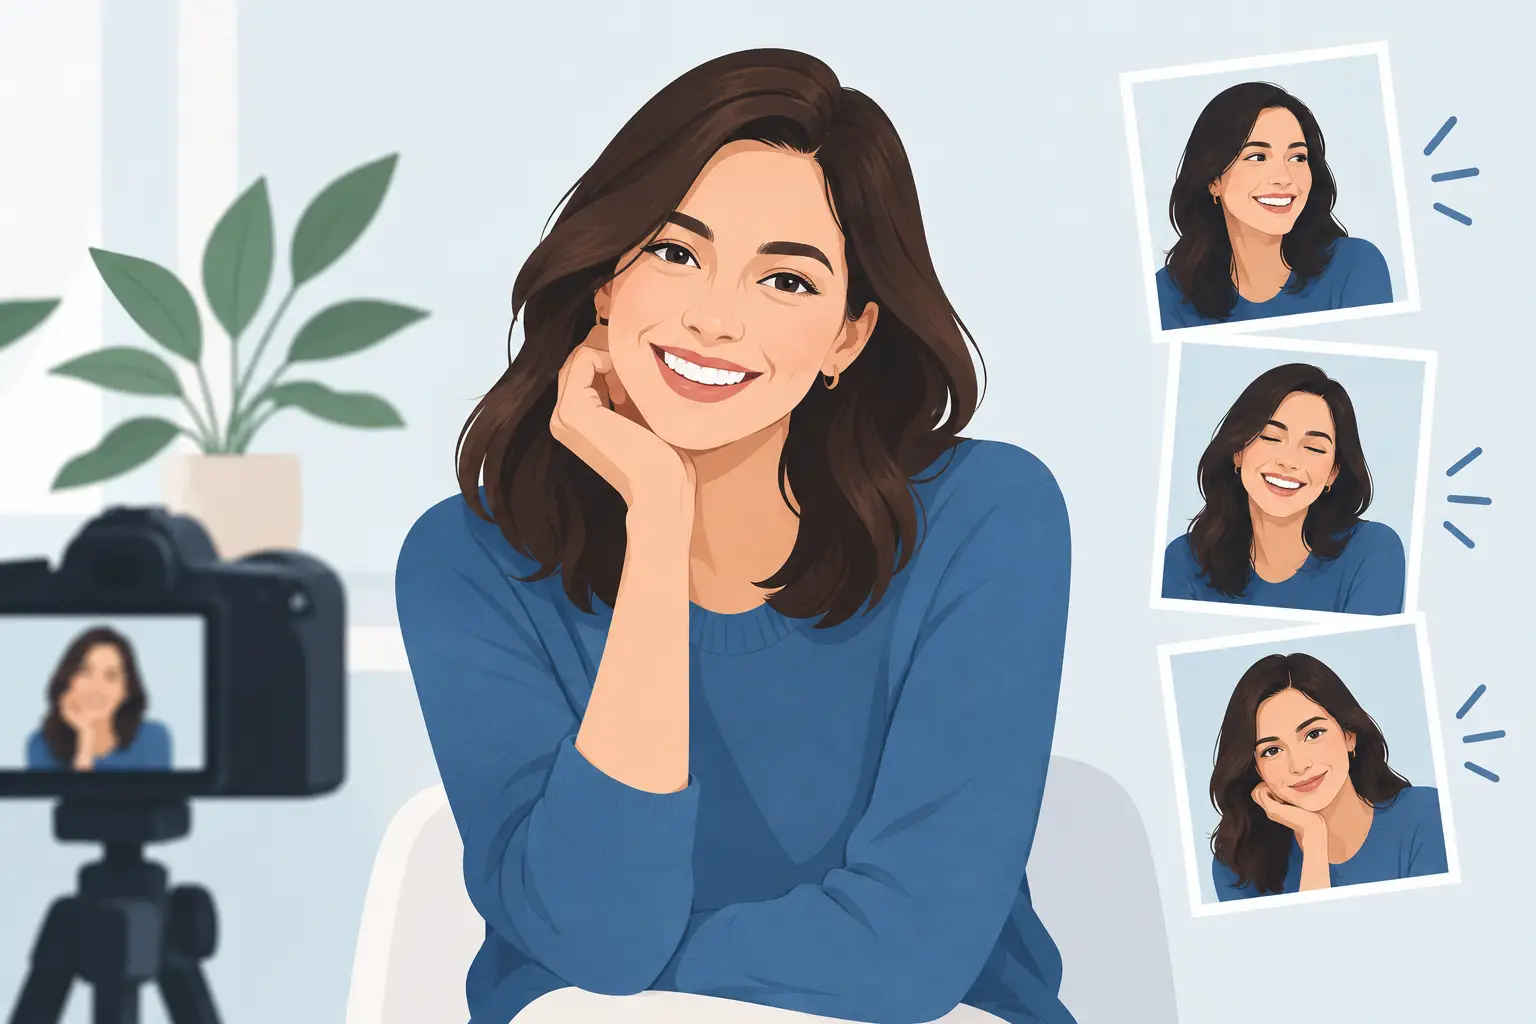
A forced smile can make even a well-lit, professionally edited photo feel unlike you. The good news is that learning how to smile in portraits is less about holding a perfect expression and more about finding a relaxed moment that fits your personality, role, and purpose for the image.
For a LinkedIn headshot, you may want to look capable and approachable. For an actor’s portfolio, the right expression may be quieter, more open, or more energetic. A great portrait smile is not one-size-fits-all. It should look natural on your face and help the viewer feel comfortable trusting, hiring, or connecting with you.
Start With a Smile That Feels Like You
Many people try to copy the broad smile they have seen in polished business portraits. That can work for some people, but it is not automatically the best choice. If you normally smile with your lips closed, forcing a wide toothy grin can look unfamiliar. If you are naturally expressive, a very subtle smile may make you appear reserved or disconnected.
Before your session, think about the photos of yourself you actually like. Are you laughing? Is your mouth softly closed? Do you show teeth? Notice the expression, not just the lighting or outfit. That is useful information for your photographer.
A professional portrait session should give you room to try a few versions of your natural expression. You do not need to choose one smile before the camera comes out. Often, the best frame happens between poses, when you have stopped trying to perform a smile and simply react to a conversation or direction.
Relax Before You Try to Look Happy
Tension is the main reason a smile looks stiff. It usually shows up first in the jaw, shoulders, hands, and eyes. You may be smiling with your mouth while the rest of your face is saying, “I wish this were over.”
Take a slow breath before the first photo. Let your shoulders drop, loosen your jaw, and gently press your tongue behind your upper front teeth for a moment. This can help reduce the tight, stretched look that happens when you hold a smile too long.
It also helps to avoid arriving at the session rushed. Give yourself a few extra minutes if possible, especially if you are coming from work. A calmer start affects your posture, expression, and confidence far more than most people expect.
Do Not Hold the Smile
Trying to keep the same smile in place while the photographer adjusts the camera is exhausting. Your expression will fade, your cheeks will tighten, and the smile may start to look mechanical.
Instead, reset often. Let your face return to neutral, take a breath, then bring the smile back when the photographer is ready. Think of it as creating short, fresh expressions rather than maintaining one pose. This is especially helpful during corporate headshots, where small changes in expression can create a noticeably different result.
Smile With Your Eyes, Not Just Your Mouth
You have probably heard the phrase “smile with your eyes.” It is good advice, but it does not mean you need to squint dramatically. A natural smile usually creates a slight softening around the eyes and a gentle lift in the cheeks. The eyes look engaged because the expression is connected to a real thought or feeling.
A simple way to create that connection is to think of a person, achievement, or moment that genuinely makes you feel good. For a business portrait, you might think about a client you helped, a project you are proud of, or the feeling of finishing an important goal. You do not need to become overly emotional. The point is to give your expression something real to respond to.
Photographers may also use conversation, humor, or small prompts to bring out a more natural reaction. That is not a distraction from the session. It is part of the process. A relaxed, authentic expression usually looks better than a technically perfect smile that has no warmth behind it.
Find the Right Amount of Teeth
There is no rule that says a professional headshot must show teeth. Both closed-mouth and teeth-showing smiles can look polished. The better choice depends on your facial features, comfort level, and the impression you want to make.
A teeth-showing smile often feels warm, welcoming, and energetic. It can work well for realtors, client-facing professionals, entrepreneurs, and people whose work depends on approachability. A softer smile can feel calm, confident, and refined, which may suit executives, creatives, actors, or anyone who prefers a more understated image.
The best approach is to photograph both. Begin with a subtle closed-mouth smile, then try a small toothy smile, followed by a fuller version. Looking at the results side by side makes the decision much easier than guessing in front of a mirror.
If you show teeth, avoid pulling the corners of your mouth straight out. Think of lifting your cheeks slightly instead. That small adjustment keeps the smile from looking wide and tense.
Use Your Posture to Improve Your Expression
Your body affects your face. When you stand rigidly square to the camera with your shoulders raised, your expression can become guarded. A more comfortable posture gives your smile room to look natural.
Start by shifting your weight slightly onto one foot. Turn your body a little away from the camera, then bring your face back toward the lens. Keep your chest open without forcing it, and let your arms rest in a position that feels easy. The exact pose will depend on the type of portrait, but comfort should always come before copying a pose from social media.
For seated portraits, sit toward the front of the chair rather than sinking back. This supports better posture and helps prevent the compressed, uneasy look that can happen when you are leaning away from the camera.
A photographer can guide these adjustments in real time. You do not need to know what to do with every hand, shoulder, or angle before you arrive. Clear direction is one of the biggest advantages of a professional session.
Practice How to Smile in Portraits Without Over-Practicing
A little practice can help, but rehearsing for an hour in the mirror often makes people more self-conscious. Keep it brief and useful. Take a few phone photos in window light and test three expressions: neutral and approachable, a soft smile, and a fuller smile.
Look for the version where your eyes appear relaxed and your jaw does not look clenched. Pay attention to your chin position too. Pushing the chin too far forward or tucking it too low can change the shape of your smile. A slight forward-and-down movement usually creates a cleaner jawline, but it should be subtle.
Use the practice to recognize what feels good, not to memorize a pose. The camera will be at a different height, the lighting will change, and a photographer may guide you into a better angle. Treat your practice as confidence-building rather than a final rehearsal.
Give Yourself Permission to Be Directed
People often worry that needing direction means they are “bad at photos.” In reality, even experienced professionals benefit from coaching. A photographer sees details you cannot see from your side of the camera: a raised shoulder, a tense mouth, hair falling across your face, or a smile that looks better a second after you first create it.
If a direction feels awkward, give it a moment before dismissing it. Camera angles can make small changes look more natural than they feel. At the same time, speak up if an expression or pose does not feel like you. Your portrait should be professionally refined, not so polished that colleagues, clients, or casting teams do not recognize you.
At RP Photography, sessions are designed to be relaxed and guided, so clients do not have to arrive knowing how to pose. That support is especially valuable if you need an updated headshot quickly but have not been in front of a professional camera for years.
Let the Expression Settle
The strongest portrait smiles rarely come from trying harder. They come from good lighting, clear direction, a comfortable pace, and the permission to reset until your expression feels real.
Bring the version of yourself you want people to meet: capable, friendly, creative, composed, or energetic. Then let the camera catch the moment when that quality shows naturally on your face.